Information is found in 100 Foods to Eat Before You Die pages 366, 371 – 372, and 340 – 341, soup recipe is my own
Sometimes, it’s hard to figure out where food traditions come from. According to legend, the Swedish tradition of eating yellow pea soup on Thursday nights came about because on one Thursday night in 1577, that’s how King Eric XIV was poisoned, which raises a few questions. Is eating pea soup a way to memorialize a good king, or the assassination of a bad one? Why was a king eating pea soup anyway? In most countries that was commoner’s fare. Kings and princes, especially in northern Europe, favored piles of meat and fish. Perhaps his doctor recommended a lighter diet, which would add a layer of irony to the story. And how did pancakes become the traditional dessert?
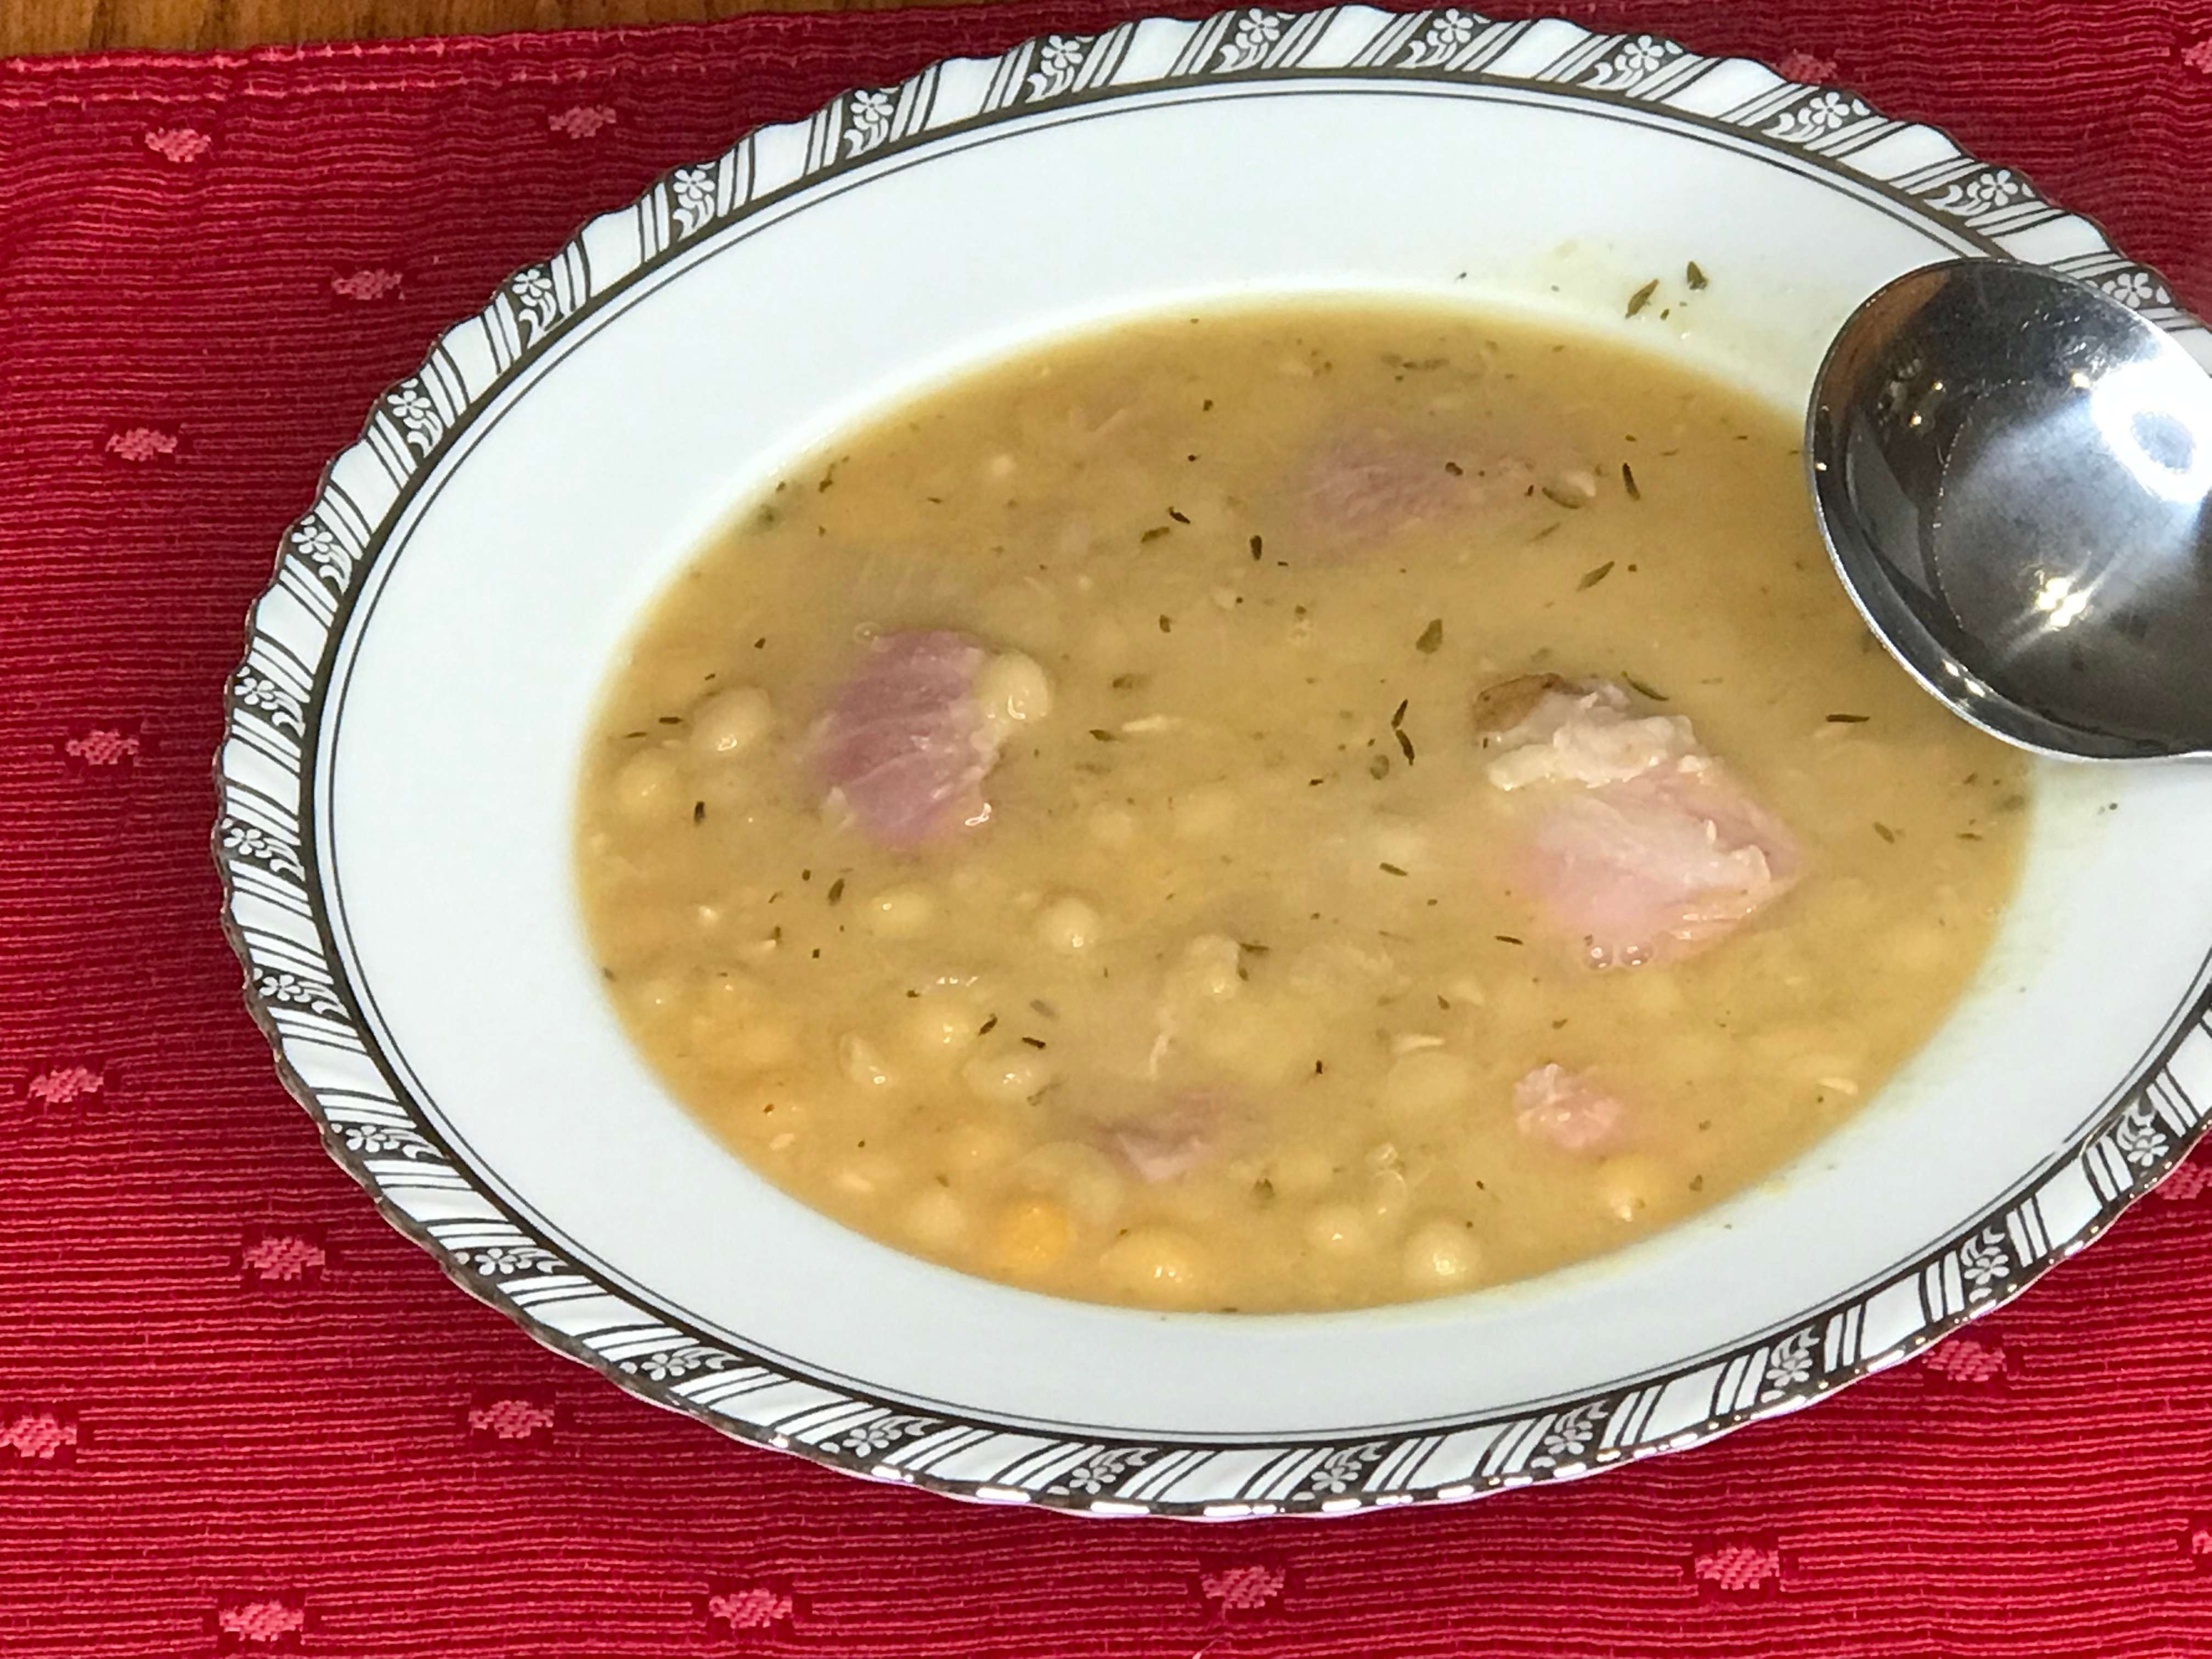
Regardless of how it happened, yellow pea soup and pancakes are still a Swedish Thursday night tradition, even if not every week. And why not? The soup is a simple mix of dried yellow peas, water, onions, salt, dried thyme, and a little ginger, with optional pork. The recipe on the bag suggested pork ribs, Mimi Sheraton mentioned cured pork in her description on page 366 in 1000 Foods to Eat Before You Die, so I used a smoked ham shank. It added an incredible richness of flavor to the soup, though it would still be good without it.
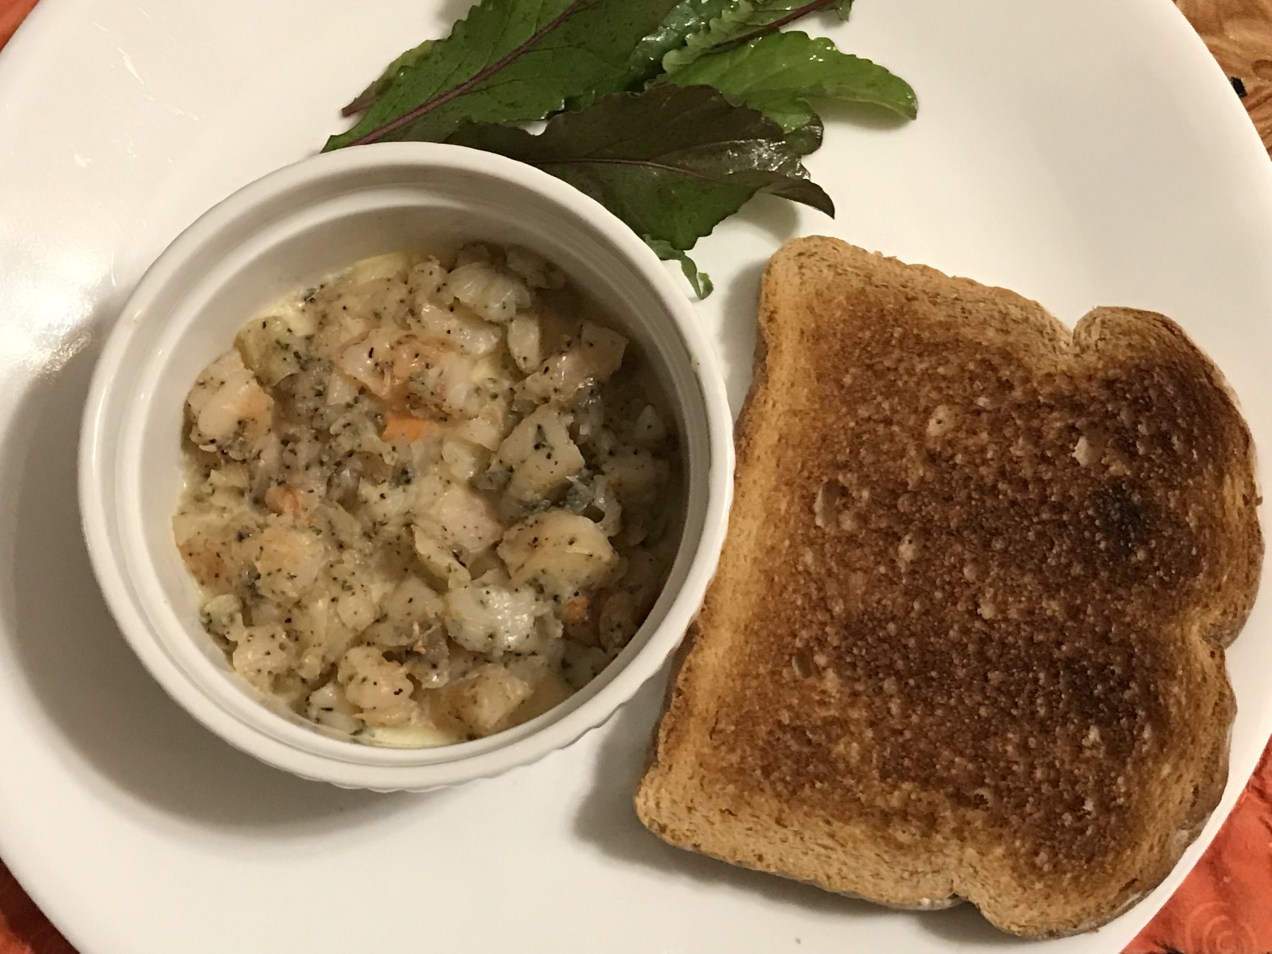
An interesting thing about the dried peas, aside from being yellow when many Americans are more used to green, is that they aren’t hulled or split. They take a bit longer to cook, but give the soup a much better texture and appearance. The flecks of thyme and ham pieces also improve the presentation. The soup was delicious as is, though a few rye crisps certainly wouldn’t hurt.
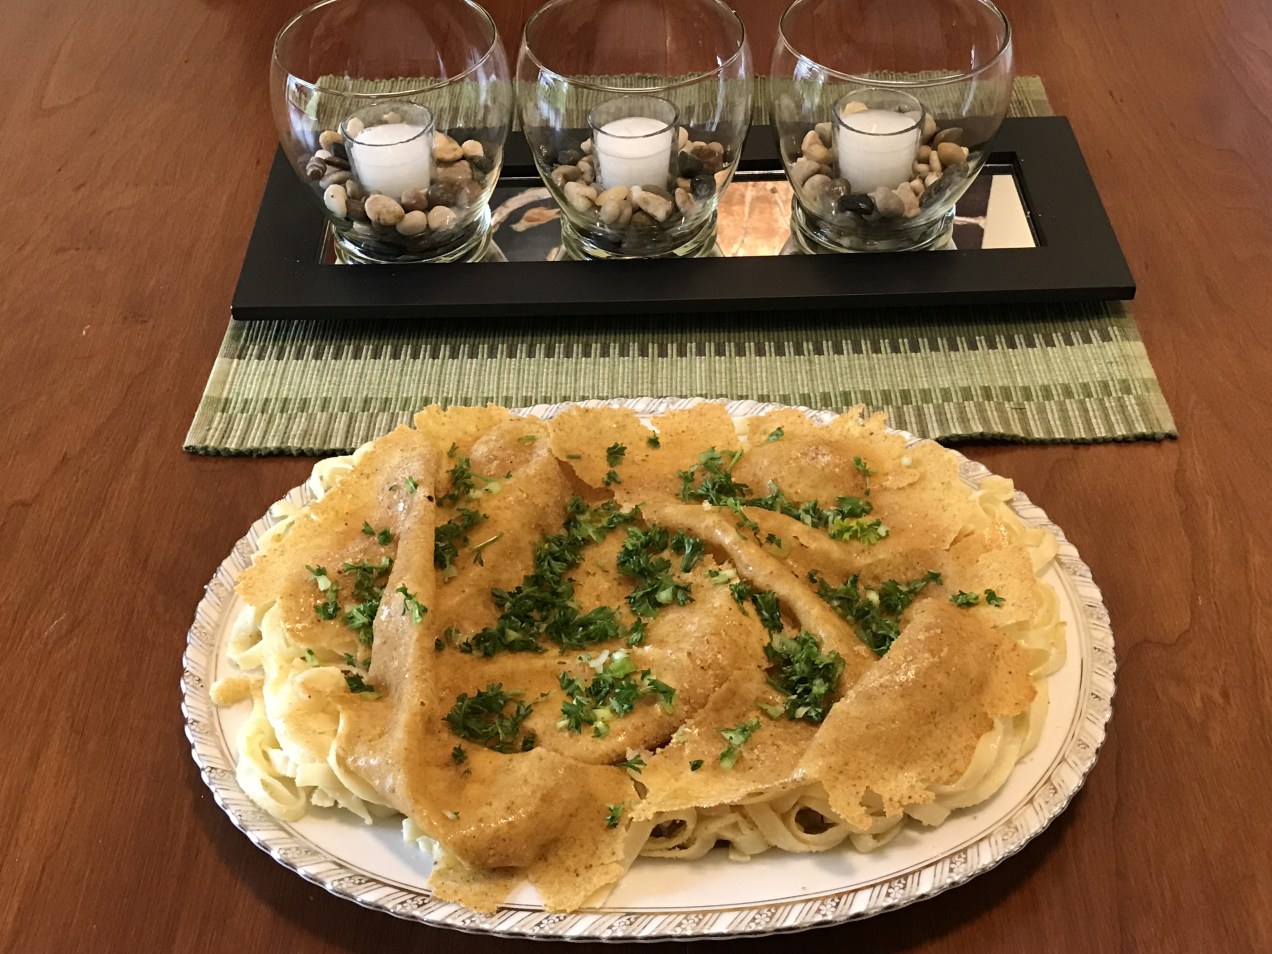
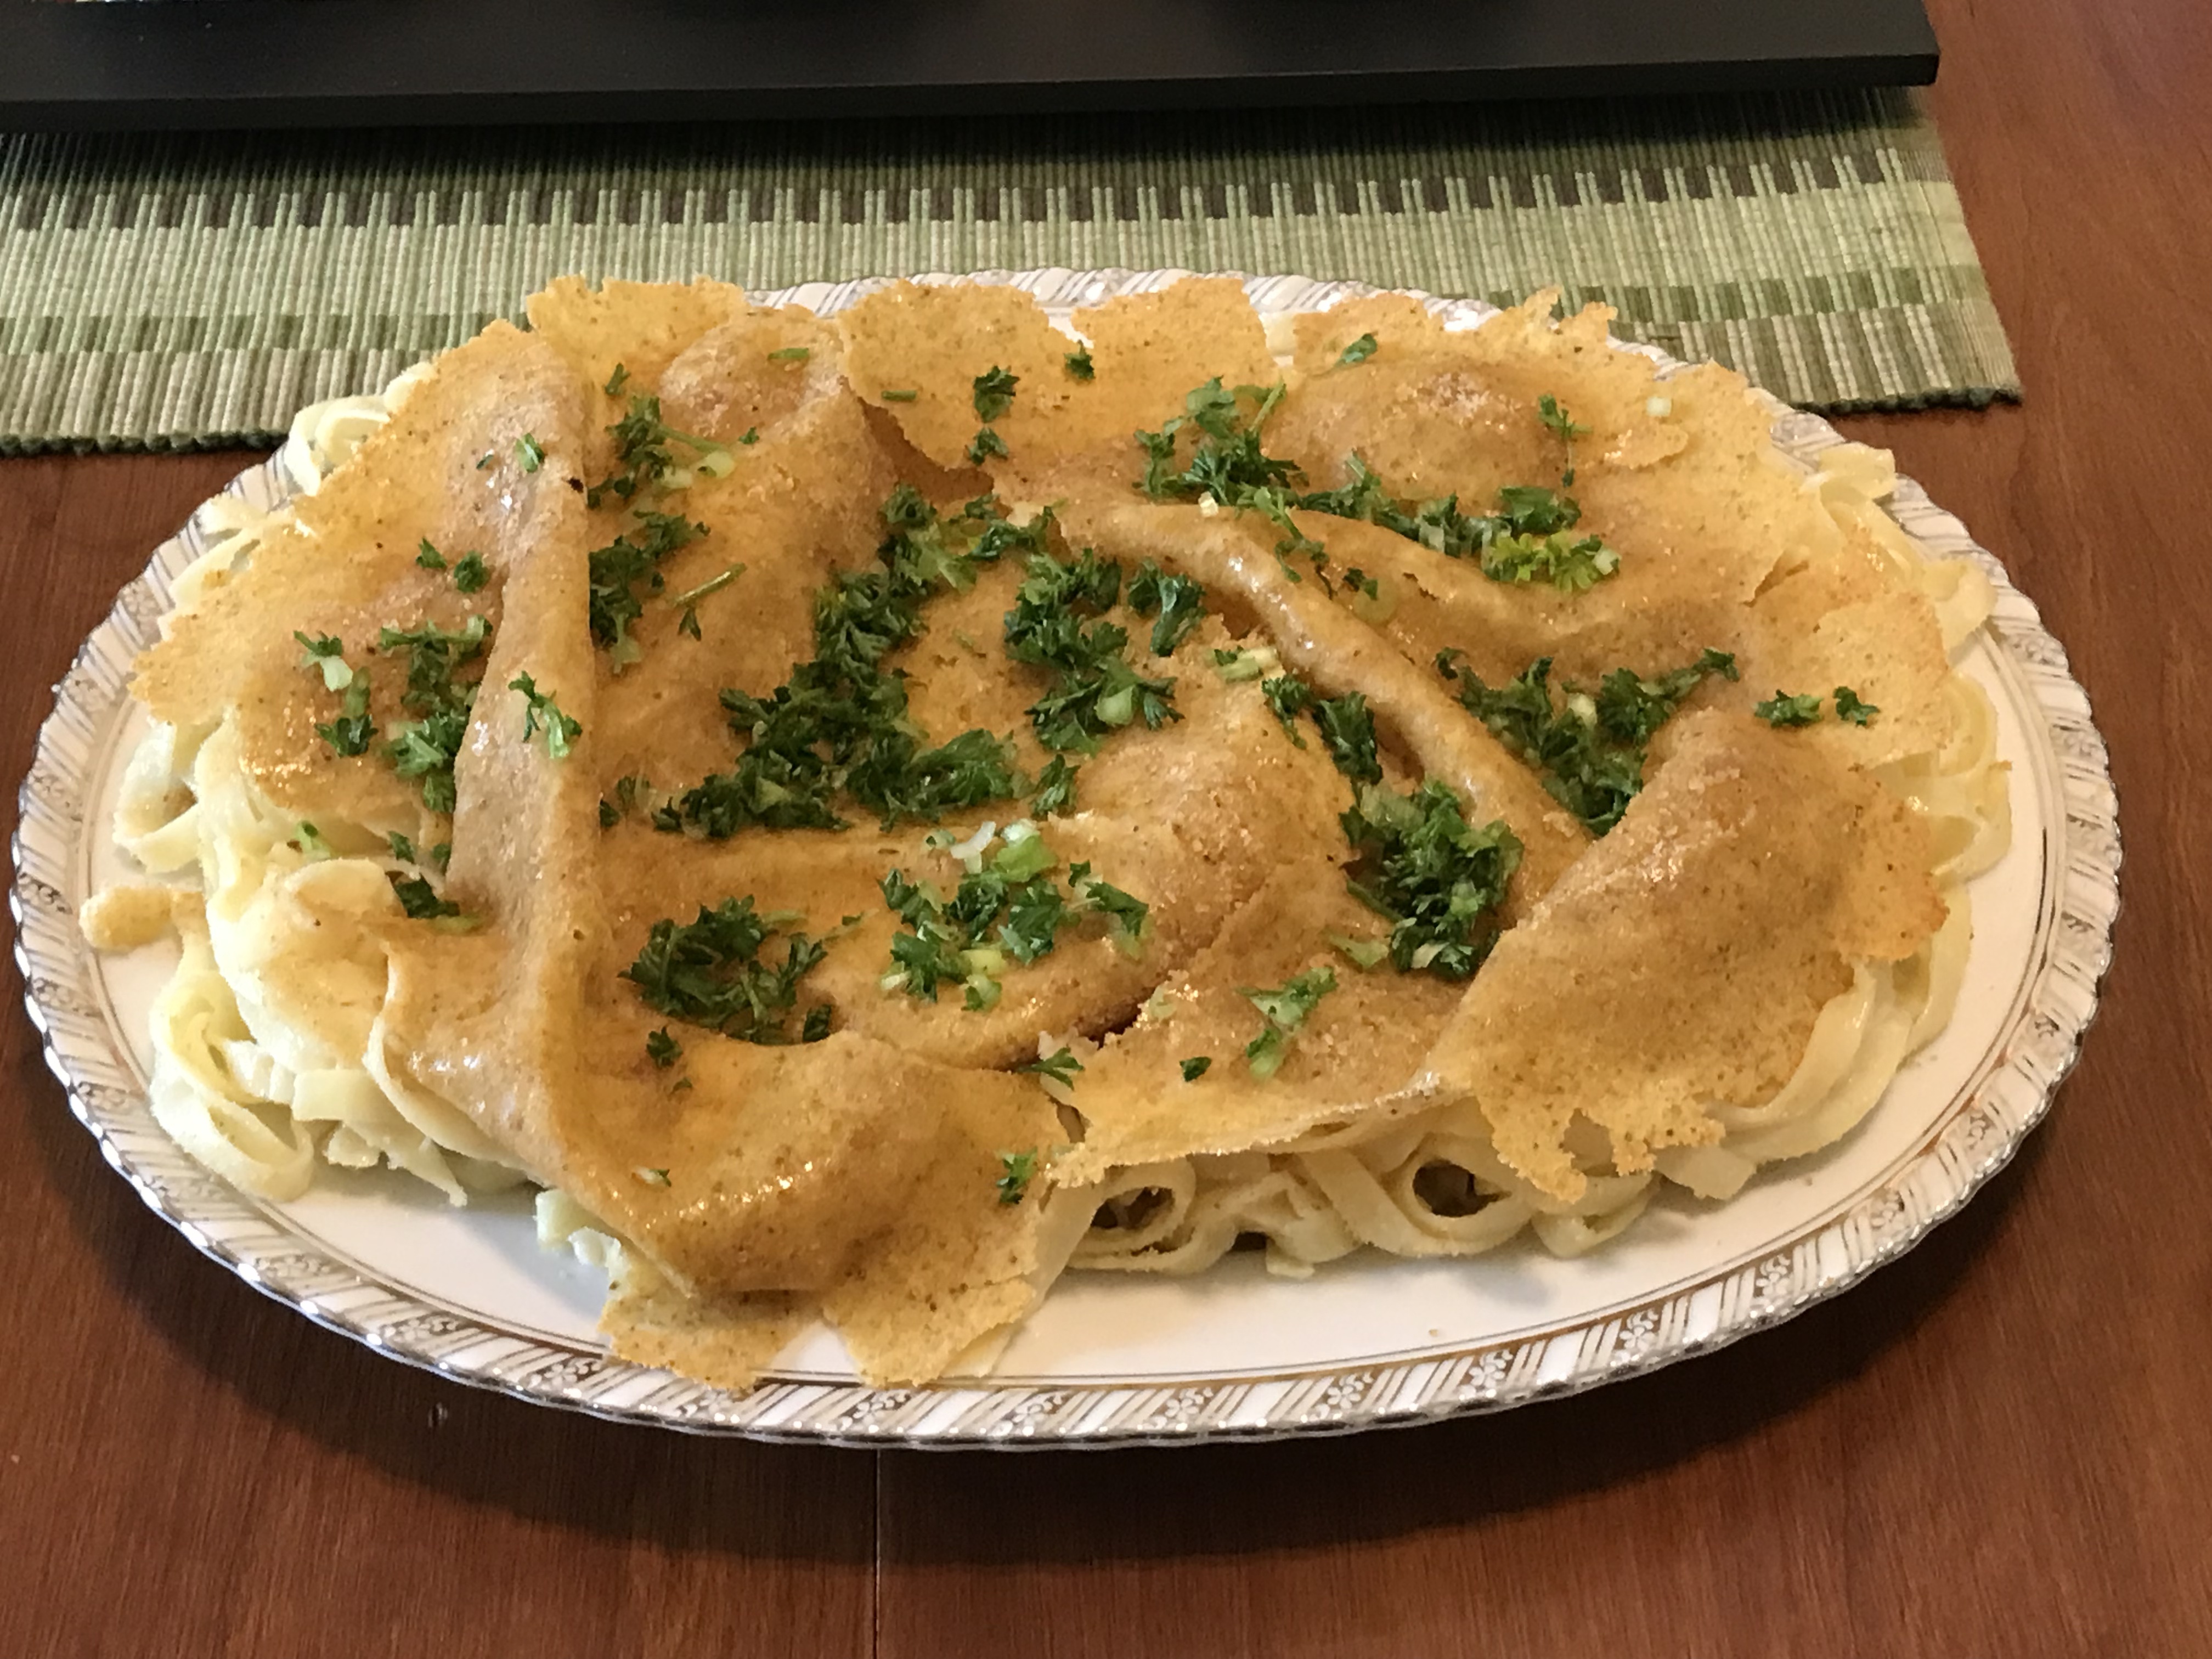
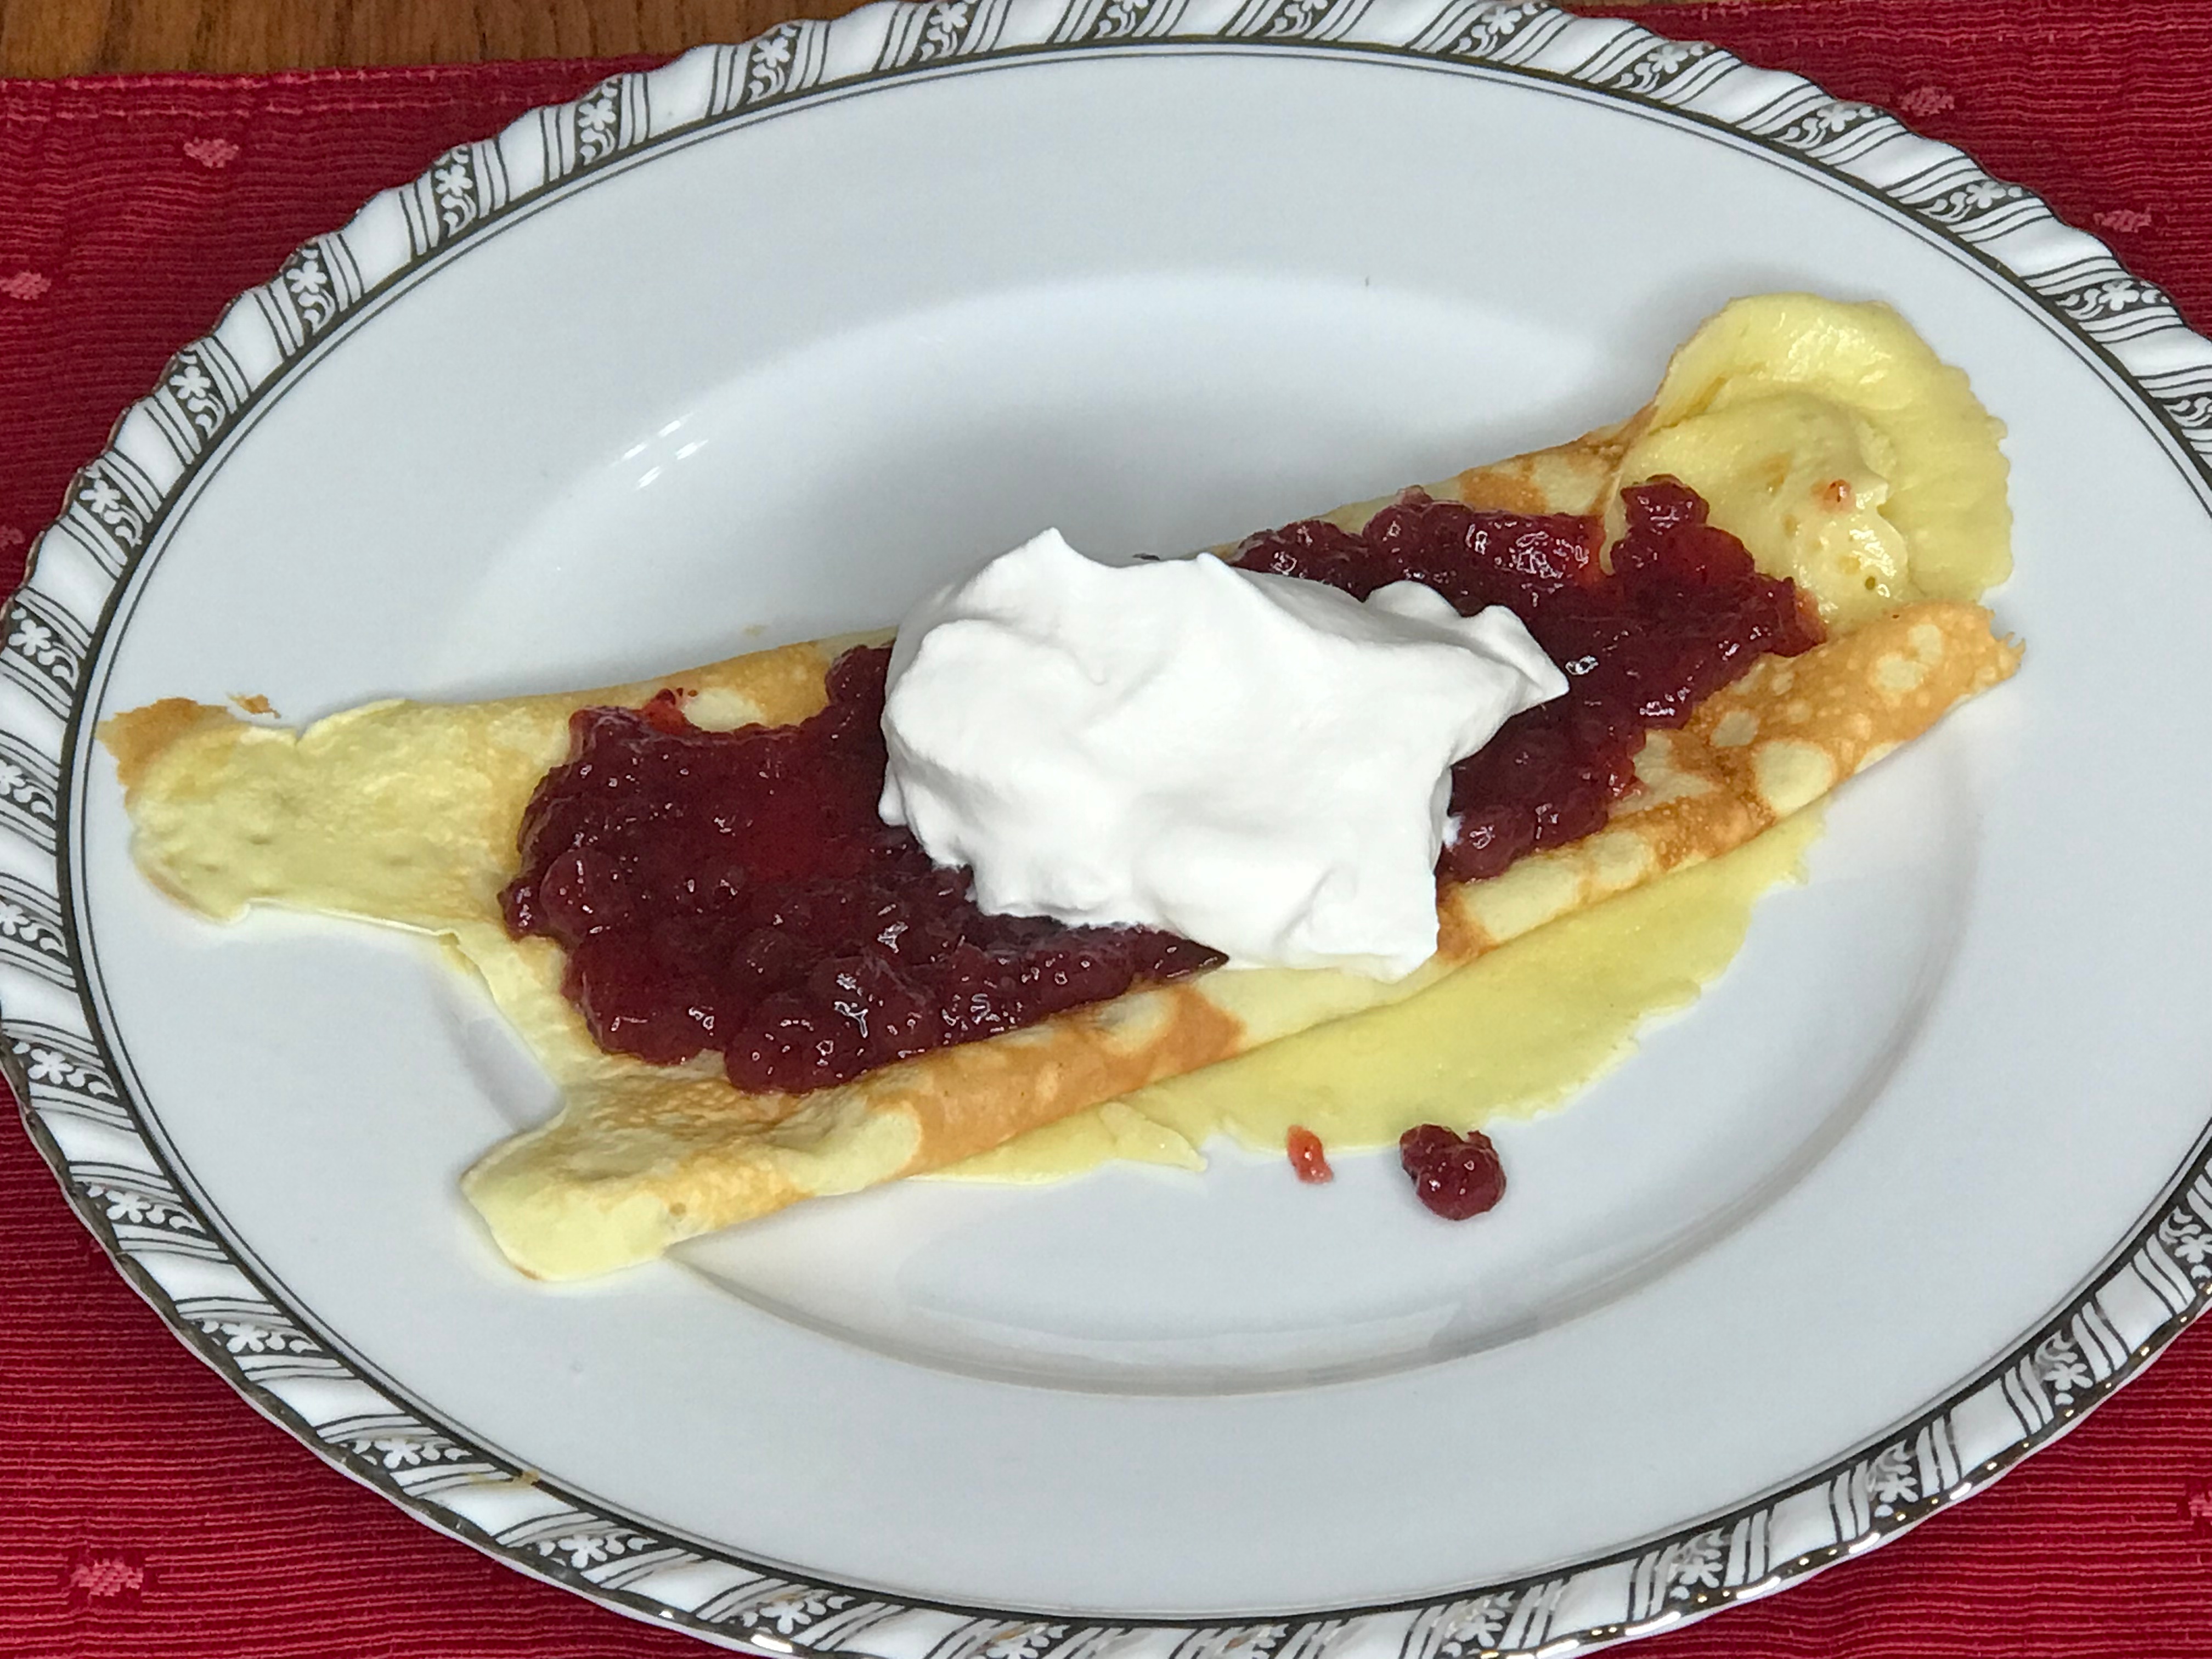
I had a slight problem with the Swedish pancakes. Because the batter is so thin, making multiple small pancakes at once wasn’t working. They just ran together, making one big crepe-like pancake. Since browning is more important, I rolled with it. The finished pancakes are served with lingonberry jam and often whipped cream.
Lingonberries are small, very tart berries native to Scandinavia. The best way to describe their flavor is about two thirds cranberry, one third sour cherry. Preserved lingonberries have a texture sort of like cranberry sauce, but the berries have softer skins. Jars of lingonberry preserves are available at most stores with an international aisle, and at some larger supermarkets next to the jam. The whole dessert, with lightly browned pancakes, reddish-purple lingonberries, and off-white whipped cream, is just beautiful.
Here’s how to make the soup. You will need:
- 1 lb (or 500g, which is fairly close) dried yellow peas, soaked overnight
- 1 package (2 pieces, roughly 2 lbs) smoked ham shanks (optional)
- 1 medium yellow onion, finely chopped
- 1 tbsp salt (reduce to 1 ½ tsp if using the ham shanks)
- 1 tsp dried thyme
- Dash powdered ginger
- Rye crisps or rye bread to serve, optional but recommended
- Combine all ingredients in a pot with 8 cups of water and bring to a boil.
- Reduce heat and simmer, with the lid tilted, until peas start to fall apart and ham shanks are tender, about 1 hour. Stir a few times toward the end of cooking.
- Turn off the heat, remove the ham shanks to a cutting board, and cover the pot.
- Once the ham shanks have cooled enough to handle, pull meat from the bone and cut into bite-sized pieces. Return ham chunks to pot.
- Bring soup back to a simmer over low heat, stirring frequently.
- Ideally serve with rye bread or crisps, even more ideally followed by Swedish pancakes.
As always, subscribe for free for recipes and trivia, sent right to your inbox. And if you want to buy me another jar of lingonberry preserves, I would be most grateful.
Make a one-time donation
Make a monthly donation
Make a yearly donation
Choose an amount
Or enter a custom amount
Your contribution is appreciated.
Your contribution is appreciated.
Your contribution is appreciated.
DonateDonate monthlyDonate yearly