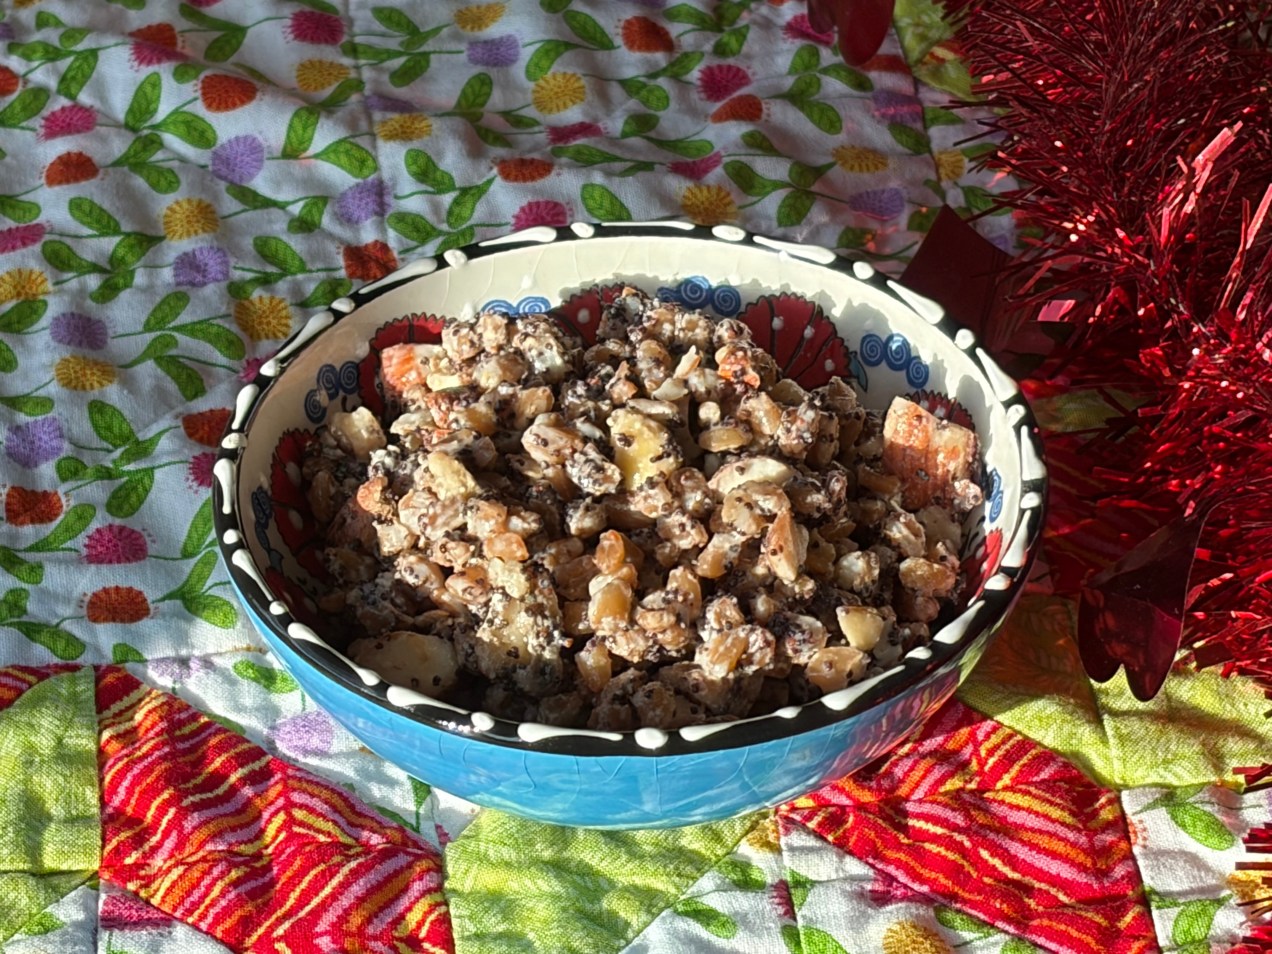

Healthy eating can be a challenge for those of us with a sweet tooth. While nothing can fully replace the baked goods and other desserts with limited nutritional value, there are healthier ways to at least calm the cravings. One option is kutya, a dessert based on wheat berries, honey, nuts, poppy seeds, and sometimes a bit of cream. Traditionally a Christmas Eve specialty in Poland and Ukraine, it’s good enough to eat year-round. I fully agree with Mimi Sheraton in 1000 Foods to Eat Before You Die (pages 401 – 402).
During the Early Modern Era, both Poland and Ukraine (then mostly part of the Polish-Lithuanian Commonwealth) exported huge amounts of grain, especially wheat, to Western Europe. In the 16th and early 17th Centuries, the Commonwealth was one of Europe’s great powers. The story of how the grain trade aided both the rise and fall of Poland-Lithuania is way too complicated to get into here (and I’m still trying to make sense of some of the economics). Suffice it to say, the role of grain is central to Polish and Ukrainian history – and cuisine.
I liked this a lot better than the Armenian wheat pudding anoush aboor. The grains have more texture and aren’t oversalted, adding nuts gives it more crunch, and honey gives it a more dessert-like character. Many recipes call for raisins or other dried fruit. For my own recipe I omitted them, and added the optional splash of cream. It wasn’t as good as the chocolate cupcakes I made for a co-worker’s baby shower, but it’s pretty hard to compete with homemade frosting. This wheat berry pudding is still a good dessert. It’s even filling enough for breakfast, without causing a sugar crash later.
There are two warnings I should give you beforehand. 1) Poppyseeds can cause a false positive for opiates on a drug test. This is fairly well-known, but worth a reminder. 2) Poppyseeds stick in the teeth. The problem seems worse in kutya than in cake or muffins, probably because they aren’t “bound up” in the structure. Have a toothbrush and floss handy.
Ingredients:
- 1 cup wheat berries or farro, cooked according to package directions and cooled
- ½ cup almonds, toasted and coarsely chopped
- ½ cup walnut pieces, toasted and coarsely chopped
- ¼ cup poppy seeds
- ¼ cup honey
- ¼ cup cream or half-and-half
Directions:
- Combine the poppy seeds with a quarter cup hot water and allow to soak for about an hour. Drain off the water.
- If you have a mortar and pestle or spice grinder, crush or grind the seeds a bit. They won’t get very fine, and this step isn’t strictly necessary, but it does help release their flavor. Mix in the cream or half-and-half.
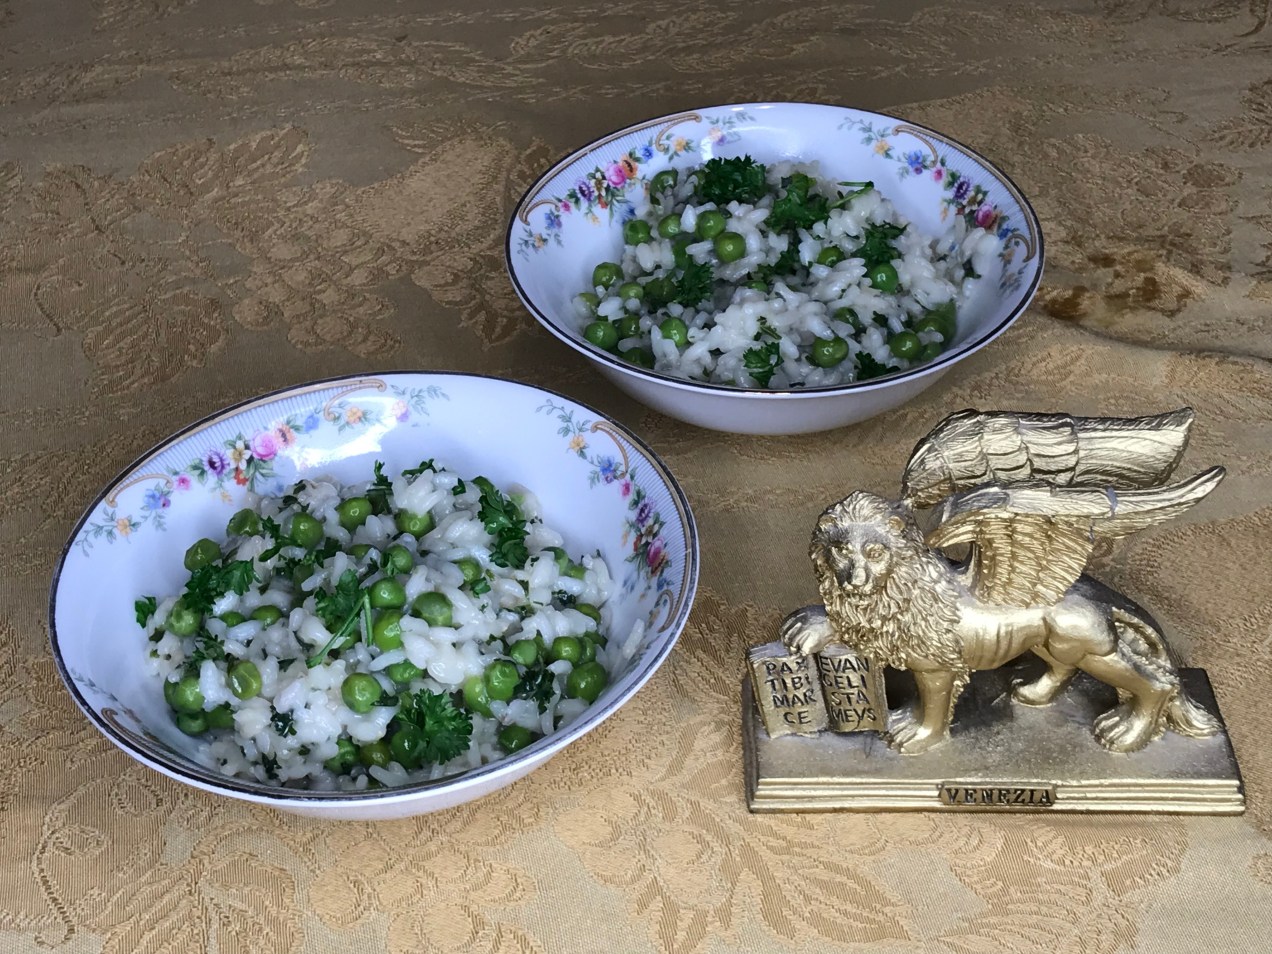
- Stir together the wheat berries, nuts, honey, and poppyseed mixture. For the best presentation, serve in pretty painted bowls.
If you thought this was interesting, don’t forget to like, share, and/or subscribe for more food history and recipes.
Make a one-time donation
Make a monthly donation
Make a yearly donation
Choose an amount
Or enter a custom amount
Your contribution is appreciated.
Your contribution is appreciated.
Your contribution is appreciated.
DonateDonate monthlyDonate yearly